
Production
First Photo Edits
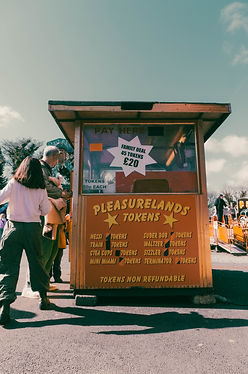
These are the first edits of my photoshoot taken in Newcastle. I found it quite difficult to add variation to my photos through composition. I do not like how I edited these photographs as some lack depth and feel flat to me.
When editing my final set of photos this first edit will help me ensure that I increase things such as contrast to them next time.
Adjusting colour tone and lighting
Colour grading and composition
First Drafts


Header Design


When beginning to create my header I knew I wanted to incorporate mixed media with my photography.
Firstly, I took a couple photographs of the sky and chose the most suitable one. I then imported it into Lightroom and added contrast as I knew once printed, the image would appear more faded.
Once printed out, I realised it would look better to only use half of the original image.
I went back to Lightroom and cropped the image then printed it out again. I also roughly measured the dimensions of my border so that I knew where to place my tickers in order for them to be visible on the header.


I trialed different sequencing for the stickers on my border then added them. Then, the image was scanned and cropped in Lightroom.


Lastly, I edited and colour graded the final image to make it appear as if it was taken with a film camera as opposed to digital. I am very pleased with the final outcome of my header as it looks like how I envisioned it.
Shown below is the header unedited and the final post edit.
Unedited

Final Outcome

Final Photobook Product

After completing the final edit of my photographs in Lightroom I took a while to plan my layout. I decided to add a blurb detailing my project on the last page as I thought that it added more narrative and explanation to the photobook.
Once my layout was decided I printed my pages, folded them and stapled them all together. I also added my name in the corner below the blurb in pen to sign my work.


I am pleased with the final outcome of my photobook yet if I were to do it differently next time I would get my book professionally printed as a shiny cover would be nice.
I enjoyed learning the new skills required to create this and I think that this is a good final product as I have never made a photobook before.
